Do you want to give your bathtub a new look? It’s easy with these simple tips. Bathtubs can collect dirt and grime over time, but it doesn’t have to stay that way!
With a few hours of work and these tips, you’ll be able to transform your old bathtub into shiny like-new condition.
Steps To Making Your Bathtub Look Like New
Make sure the area around the tub is clean before starting any work. This will make cleanup easier later on.
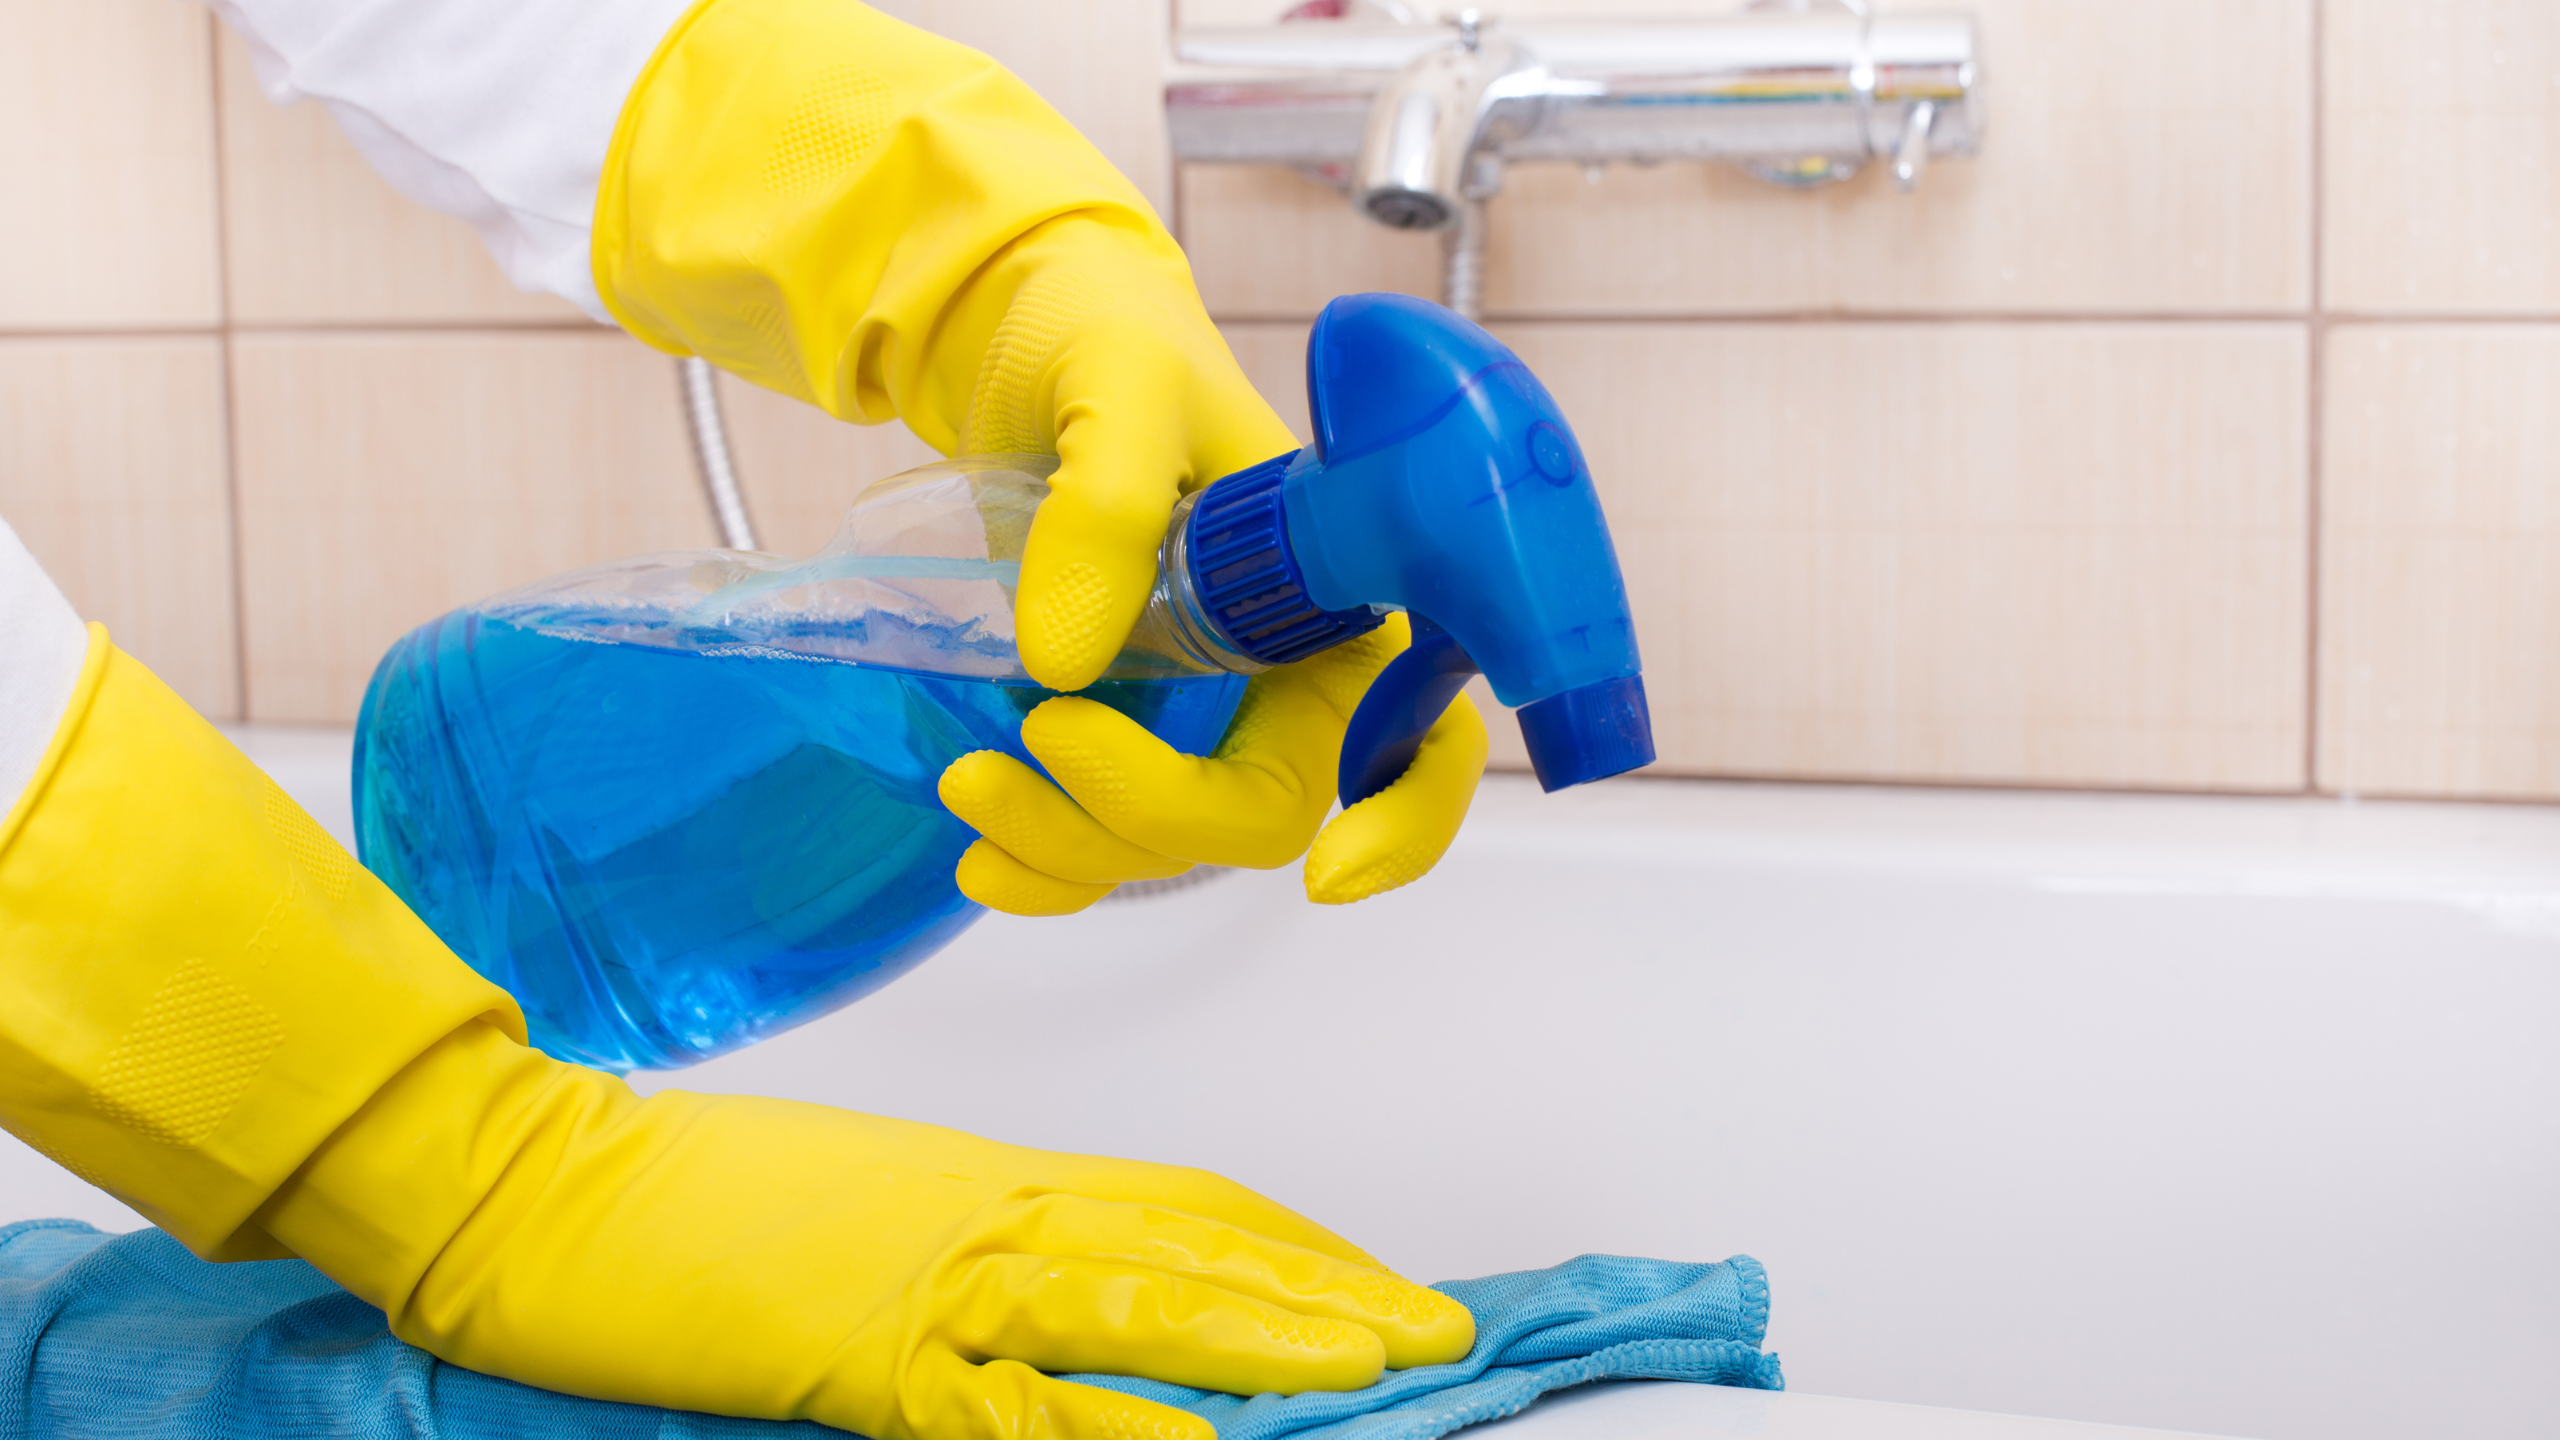
- Remove all fixtures from the bathtub including faucets and drain covers before starting work. These items should be installed after the reglazing process has been completed so they don’t get damaged during installation or removal. Clean the bathtub with dish soap and water to remove any dirt or debris.
- In order for a new coat of glaze to adhere correctly, the surface must be clean and dry. Wipe down all surfaces that have been cleaned with a sponge cloth soaked in rubbing alcohol. This will ensure that no oil residue is present on the tub’s surface so it can accept your new finish more easily. Allow everything to air-dry before proceeding to step five.
- The next few steps require some heavy-duty equipment such as an electric sander, heat gun, wire brush set (with medium bristles), masking tape, disposable gloves, and goggles. You’ll also need paint thinner or mineral spirits if you’re working with acrylic paint.
- Save your time and energy by using a heat gun to warm up the tub before you tackle any major sanding work. If you don’t have one, use an electric sander instead, or break out that trusty wire brush set for years of scrubbing ahead!
- These steps will remove all dirt and old glaze from the surface while also giving it some wear-and-tear texture as well. To prevent scratching the bathtub’s surface during this process, cover with masking tape first.
Note: It is not necessary to strip down/sand off ALL of the remaining original finish on an acrylic tub; just what has been damaged through heavy usage over time or where there are water stains could be beneficial in order to make it look more natural.
- Once the surface is sufficiently sanded, you will see that there are areas where the glaze has been thinned down or worn away completely and needs to be repaired/recolored- this can happen over time as well due to heavy usage on acrylic bathtubs. You can also use a heat gun again for these sections in order to melt and reform the plastic back together. If using latex paint, dilute with water by about 50% before applying; if going with an oil-based enamel, always mix thoroughly beforehand while maintaining consistency so they won’t separate when drying in between coats.
- If your tub requires a full re-glazing treatment (and isn’t just scratched ), then you will need to strip down the surface in order for it to be properly prepared. This is done by using a hydrochloric acid bath, which chemically erodes and dissolves acrylic paint or plastic-based surfaces so they can be sanded off without damaging the tub’s porcelain underlayment.
- Once stripped of any old glaze layers, your next step should always involve prepping before applying new coats with filler material (as previously mentioned) on patches where needed; this includes filling out holes that are larger than one inch in diameter as well as smoothing over rough areas. If there are many large scratches or deep gouges requiring more than just basic patching/filling, you may have better luck sealing with a clear acrylic-based sealant that can then be sanded with 600 grit wet/dry paper to create an even surface.
- As for the fillers themselves, they typically come in powder form and are mixed into water or another liquid until it becomes malleable. Once this is done, you will be able to get rid of any imperfections and leave behind only a smooth finish!
- If you want your bathtub reglazing project to reach its full potential, make sure not to forget about power washing before starting on anything else! This removes stains from hard water spots or minerals that have collected over time as well as other dirt accumulation so that when applying filler material there’s nothing but clean porcelain underneath.
- Do not forget to apply a sealant! This is crucial for making sure that your bathtub will remain looking like new. There are many different types of sealants but the best one depends on what type of surface you’re working with, such as acrylics or porcelain.
- To perfect this project so it looks professionally done and feels smooth when touched, finish by applying an acid-based polish product in order to make any rough edges completely disappear and leave everything polished cleanly without needing any sanding whatsoever!
Also check this additional helpful tips How to Properly Care for a Refinished Bathtub
Final Thoughts
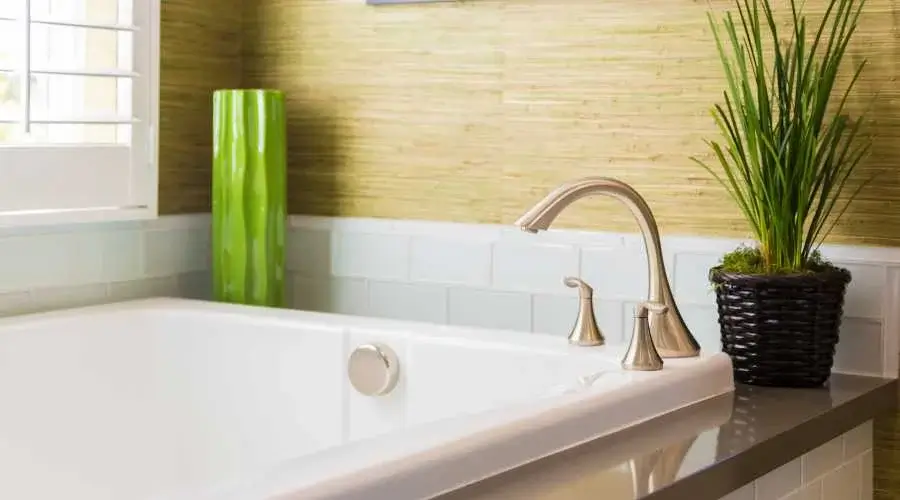
Bathtubs are a big investment, and they can be expensive to replace. It’s not uncommon for people to keep their old bathtub even after it starts looking dull and dingy.
Your tub is an important part of your home, but if you’re not taking proper care of it, the shine comes off pretty quickly. No one likes to step into a dirty bathtub or have their kids play in one that looks bad.
Wilmington Tub Reglazing specializes in restoring the look of your bathtub while also providing long-term protection against water damage and rusting. We offer affordable prices on all our services so you don’t have to worry about spending too much money on this project.
Call us today at (302) 600-1635 for more information!