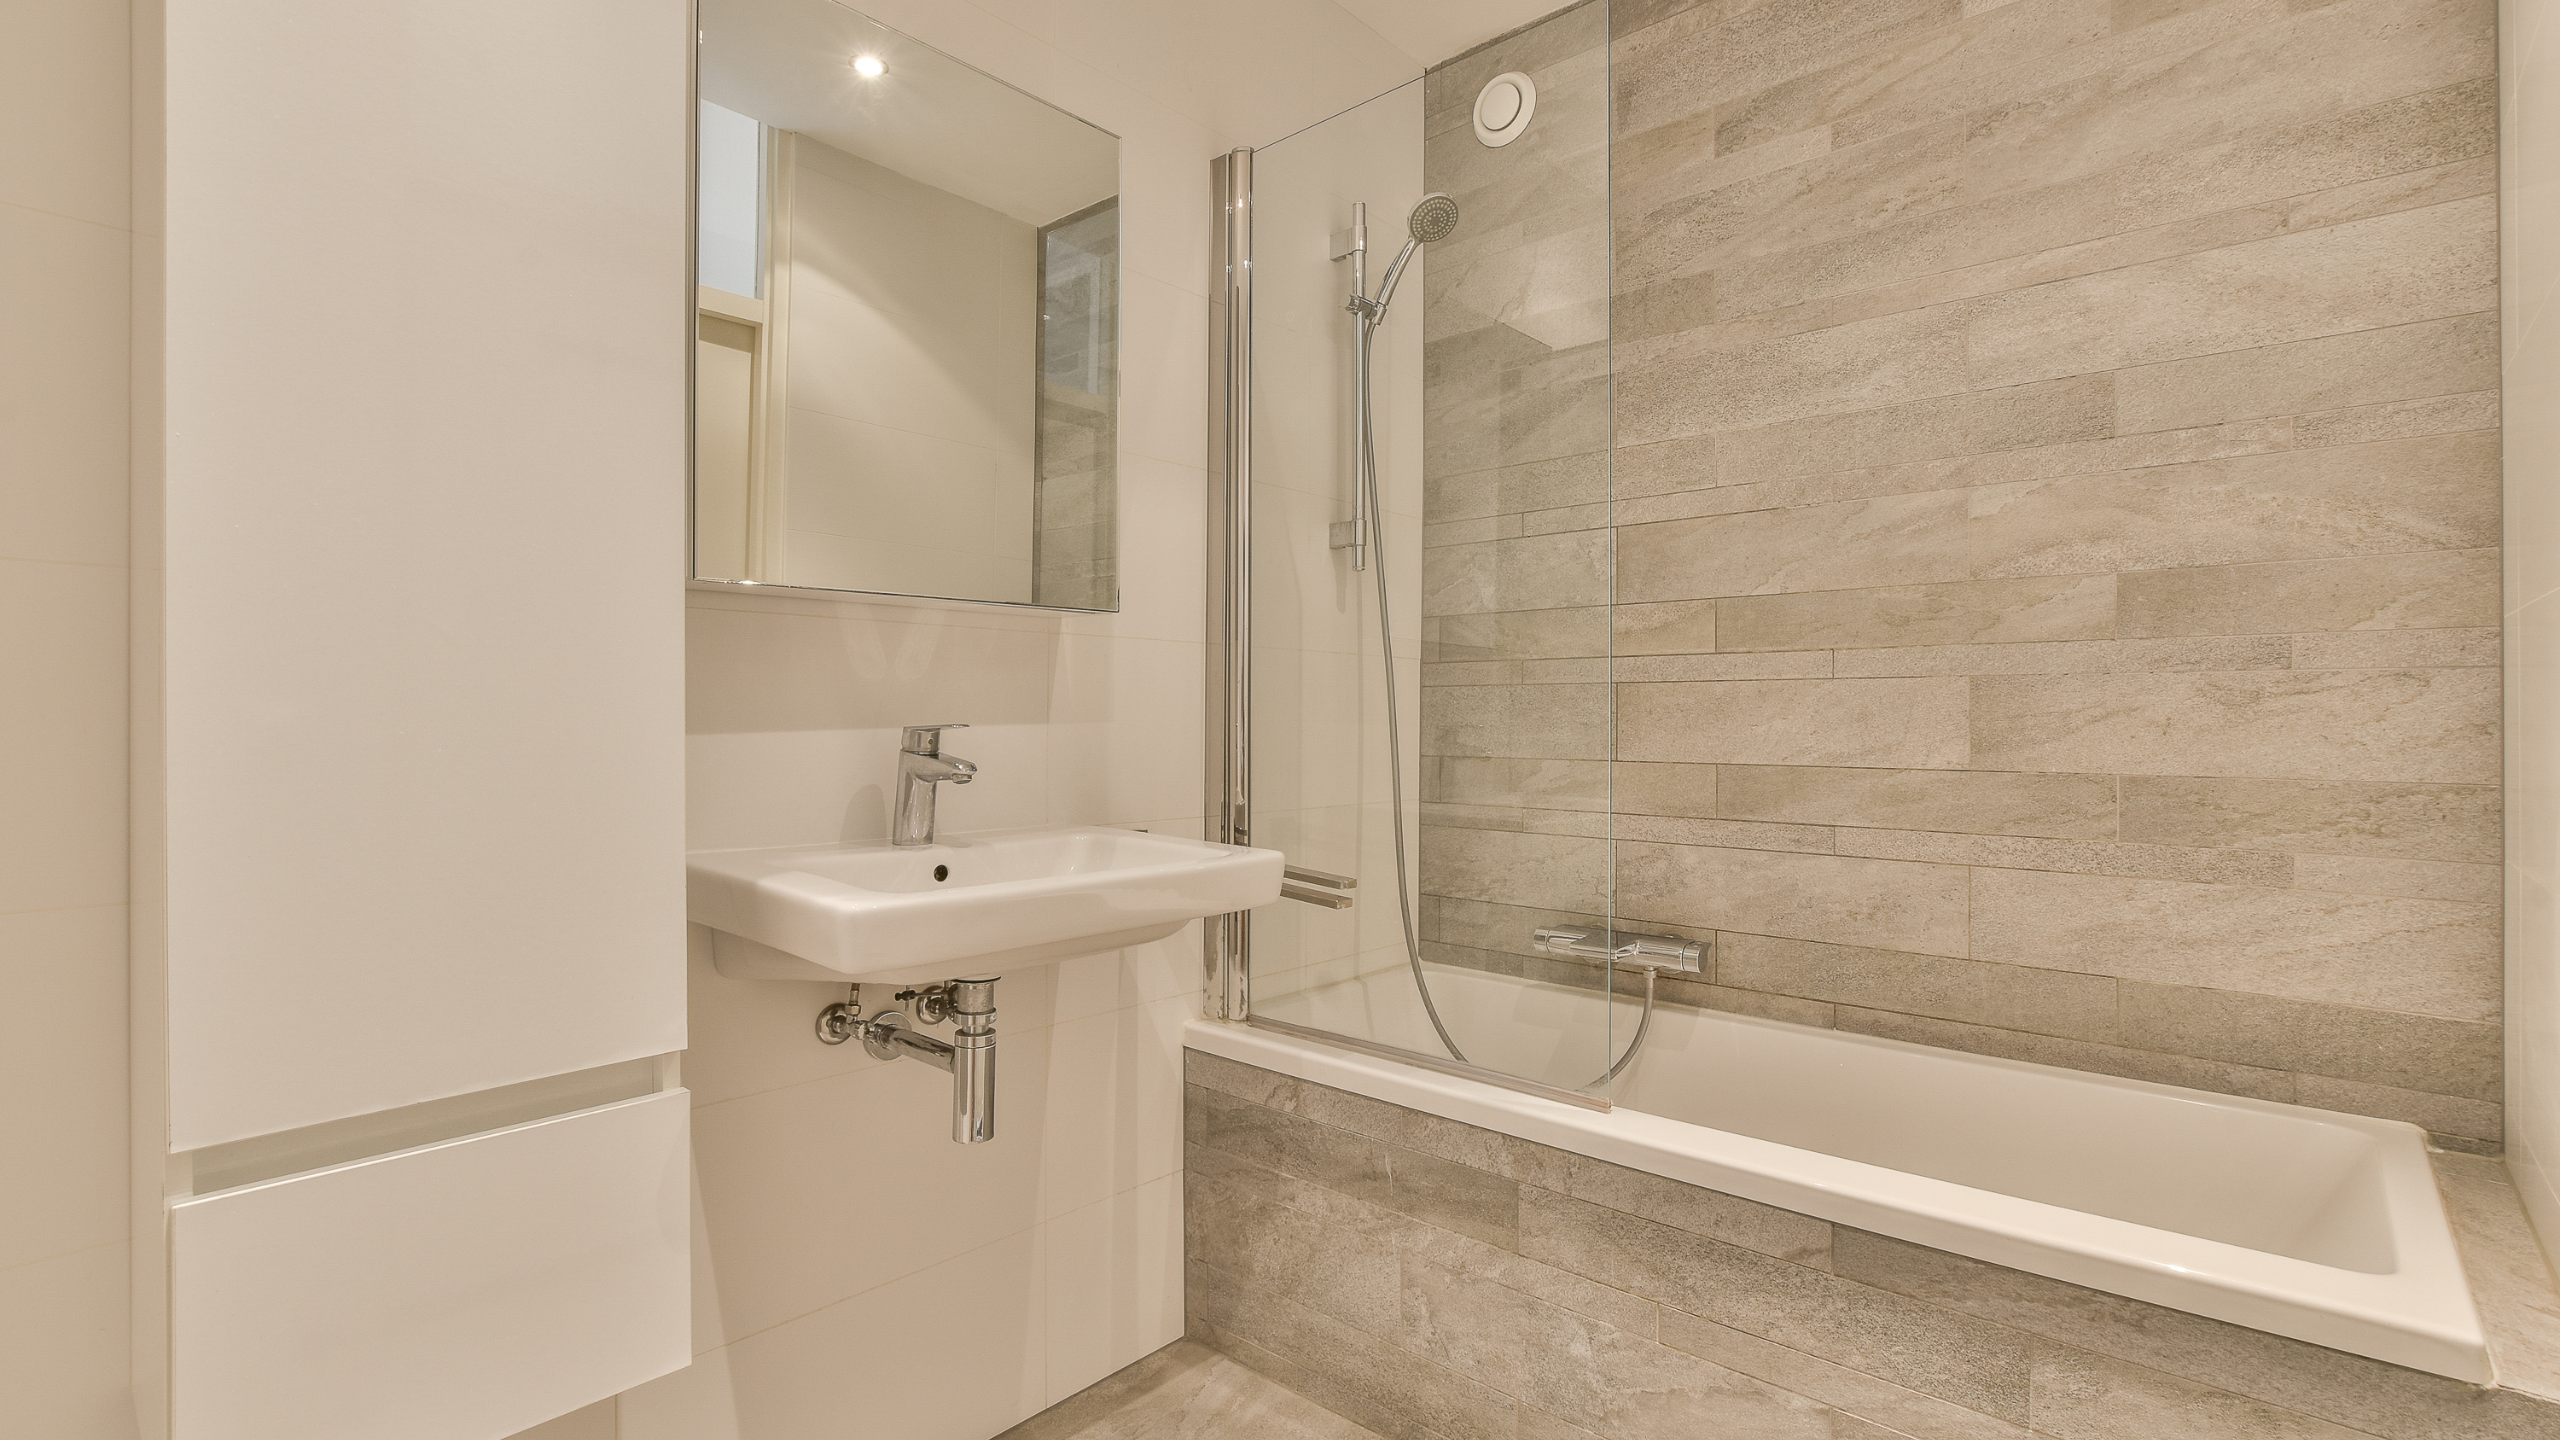
A bathtub is a great item to have in your bathroom. It helps you get relaxed and calm down after a long and hectic day. When you have a bathtub that has seen better days and is deteriorating, it makes taking a bath unpleasant.
You can work on this— replacing it with a new tub, using an acrylic liner, or refinishing it. The latter being the most economical compared to the others. With the right DIY tools and perfect knowledge, bathtub refinishing can be done by oneself effectively. We will discuss what you need to complete a successful bathtub refinishing with a procedure to follow.
Requirements
To complete this DIY project successfully, here are some of the essential things you need to consider:
- An excellent DIY kit that will help you produce satisfying results. This DIY kit must include; etching powder, brush, steel wool, epoxy resin with hardener, and safety goggles. You can find a good kit at home improvement stores.
- Safety. Refinishing your bathtub requires you to take some safety considerations such as proper aeration of the space through ventilation, using breathing protection, googles, and ensuring that the bathroom exhaust fan is running. Operations such as etching and coating will create dust and fumes that you should not inhale.
- Equipment. To complete this project effectively, you must have these tools and materials; screwdriver, painter's tape, sponge, caulk gun, rubber gloves, paper towels, wet/dry sandpapers, abrasive cleanser, abrasive pad, paint roller, roller tray, tub-and-tile caulk, putty knife and a chemical caulk remover.
Step-by-Step Instructions
Upon ensuring that you have the equipment and the safety considerations adhered to, this is the process you will follow.
- Remove hardware and existing caulk. Hardware includes cover plates on plumbing fixtures, bathtub spouts, and escutcheons. You can complete this process with the help of a putty knife.
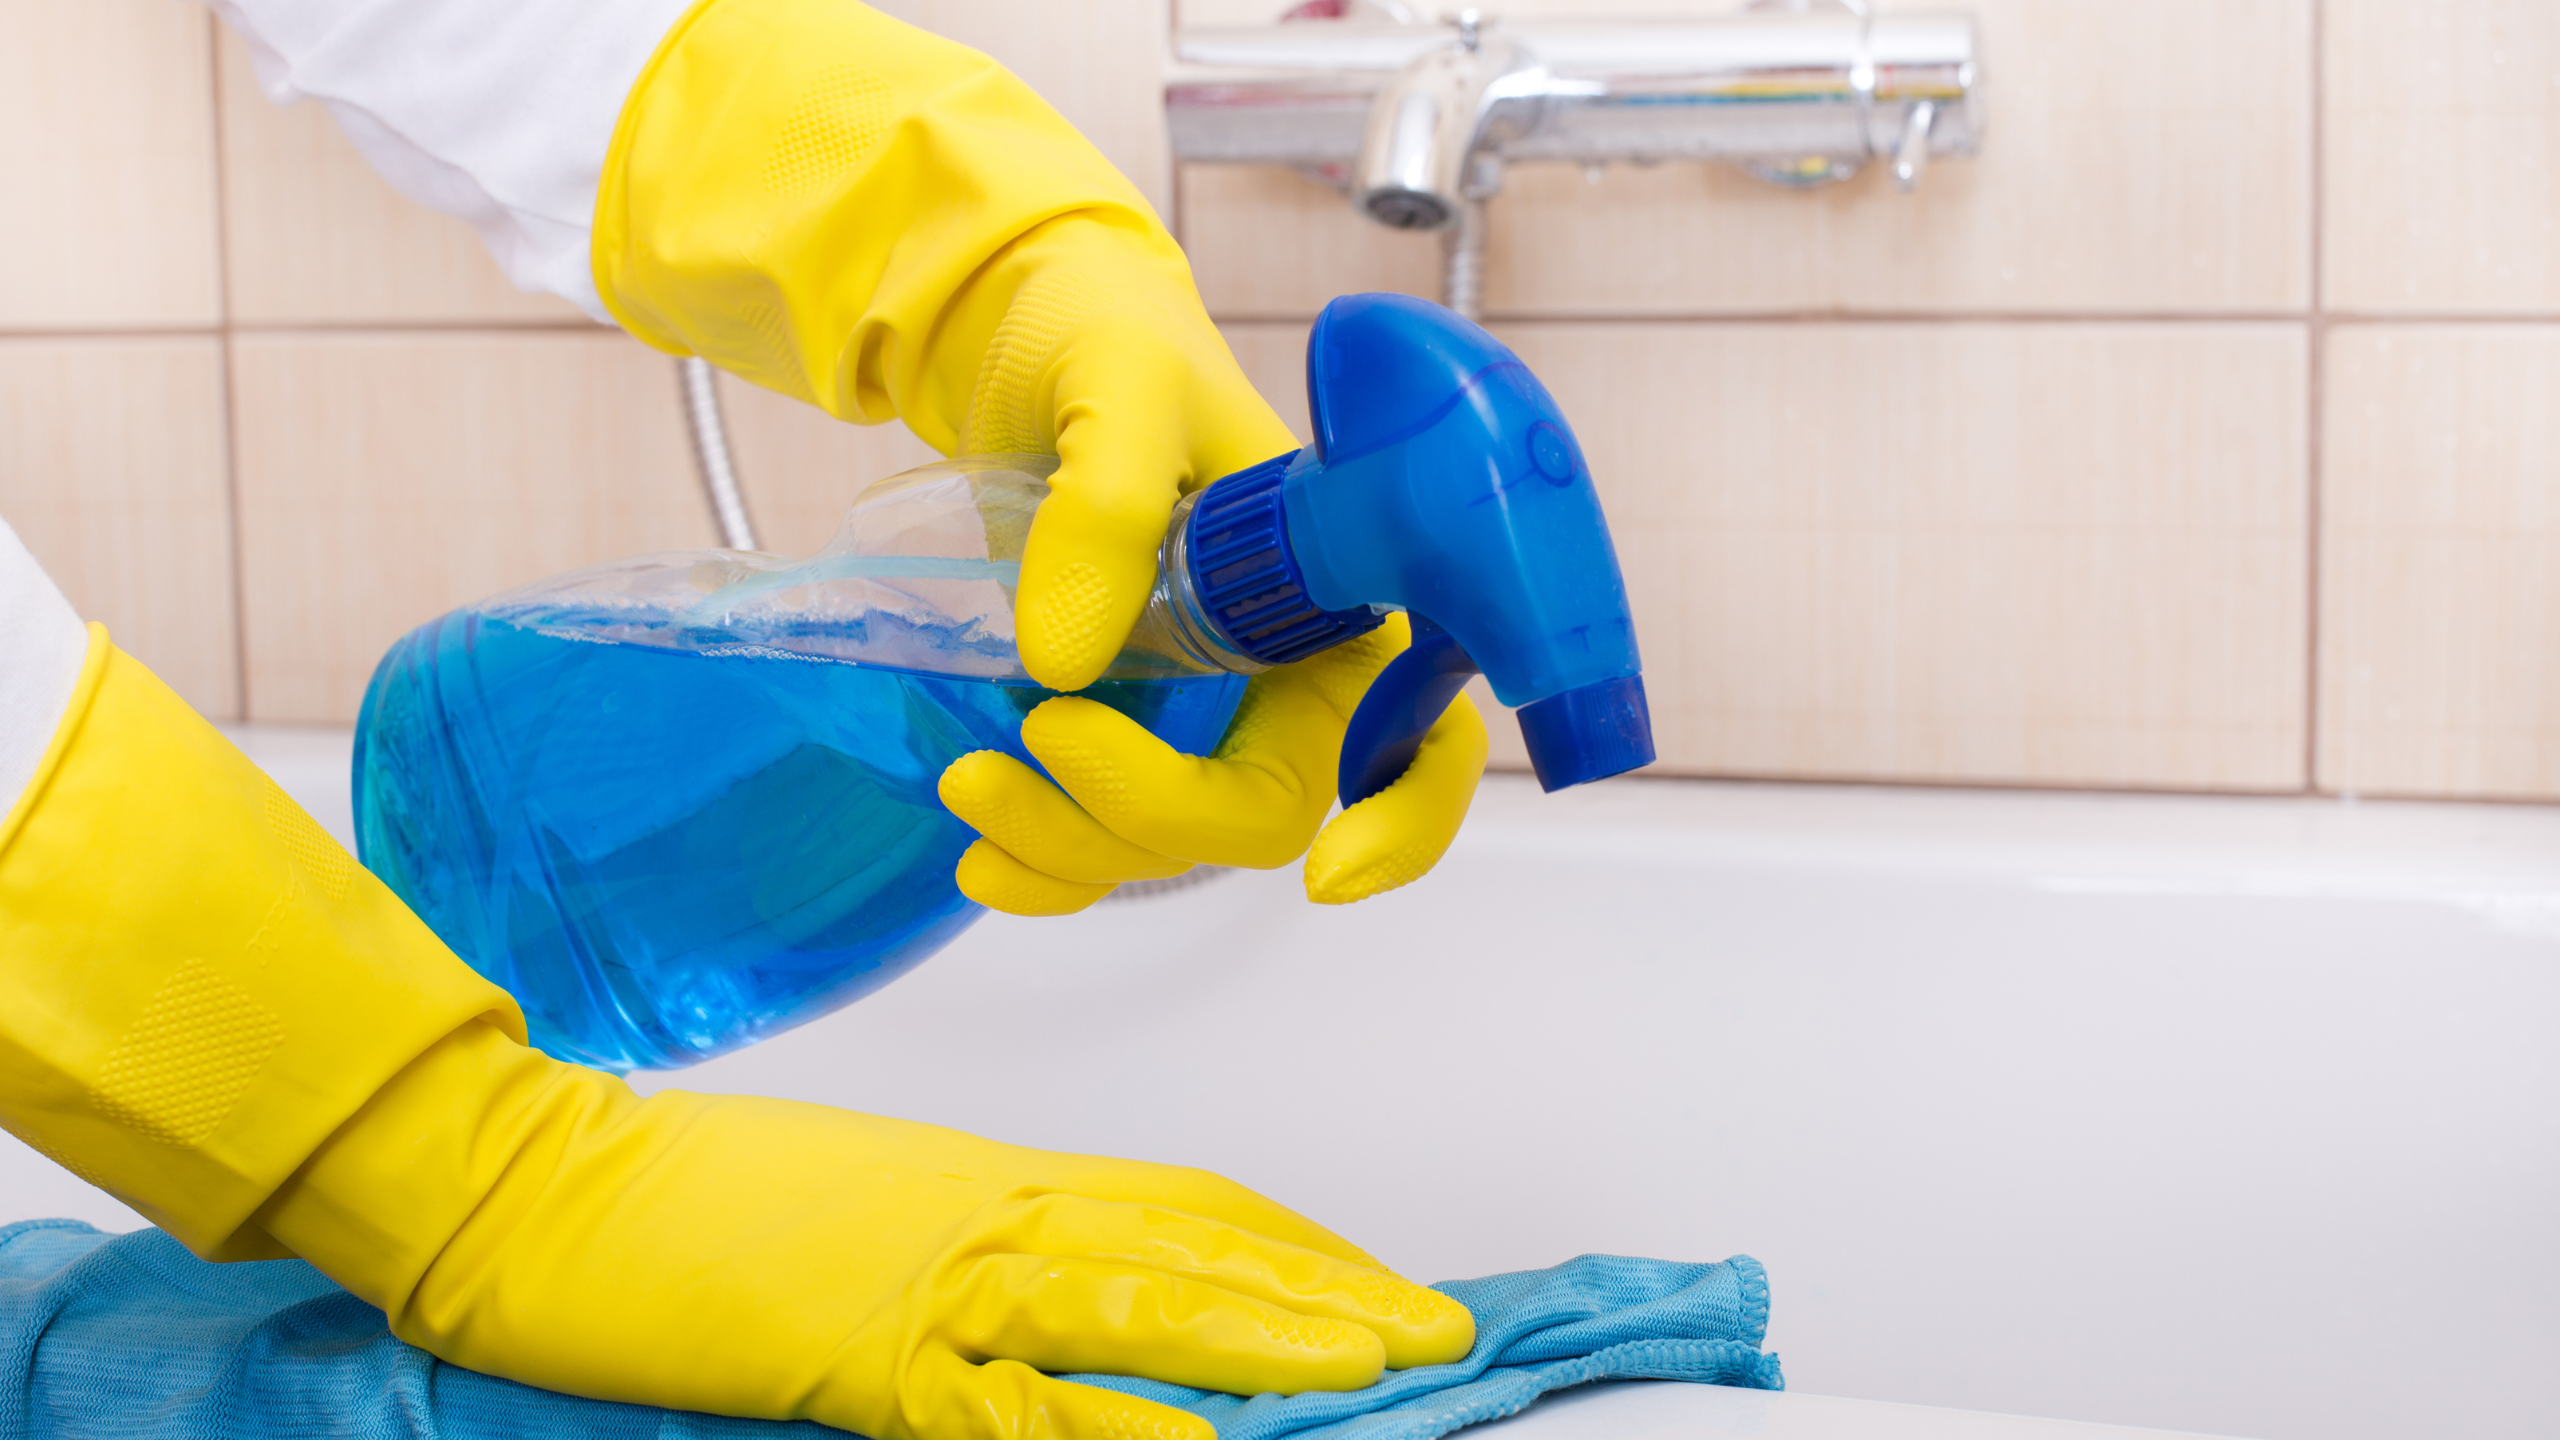
- Thoroughly clean the bathtub. Using a solution of water and bleach and an abrasive cleanse, rinse the tub, remove all caulk and clean the area completely dry. Then rinse the tub with clean water.
- Seal off the areas around. The epoxy coating is difficult to remove from places where it has dropped; therefore, it is essential to mask off the areas around the tub, i.e., the floors and the walls. This making-off is done with the help of drop clots and painter's tape.
- Etch the tub surfaces. Apply the etching powder to the surfaces of the tub with water. Then scrub the surfaces with an abrasive pad. Finally, rinse it thoroughly with clean water. This process will help make the finish rough enough for the new coating to adhere.
- Use wet/dry sandpaper for sanding the tub that is still wet. This sanding is done to roughen the surfaces further. It is essential, especially if the etching powder is not included in your kit. The corners of the tub should be thoroughly roughened up to ensure that the epoxy coating will adhere completely. Rinse the tub with clean water to remove the dust and paper residue and let it dry. You can use paper towels to wipe the tub completely dry.
- Apply primer to the surfaces if your kit includes a primer. If your kit does not include a primer, there is no cause for concern since some refinishers are self-priming. However, do not use the ordinary paint primer. The only primer you should use is one included in the kit.
- Mix the coating. Mix the hardener into the epoxy resin; the label instructions will guide you on doing this.
- Coating. The coating is now applied on the tub's sides using a roller. With the directive of the label instructions, apply a second of coating. This second coating can be done immediately, or you can wait for some time, depending on the directives of the label instructions. Wait for the coat to dry.
- Remove the tape and reattach the hardware after the coating is dry. Finally, caulk around the tub. You will have to wait for the coating to cure before using your bathtub.
A Note from the Experts
This DIY bathtub refinishing is less complicated and simple to follow. However, it is ideal for short-term application since it is rare to find a DIY refinishing that will last for a long time before a new coating is needed. DIY bathtub refinishing is used as a measure until a complete tub replacement is practical. For a smooth and durable finish, it is crucial to seek the services of a professional to do the refinishing for you.
Professionals use a slightly different process, but their method ensures that time is spent on repairing chips and cracks. Refinishers also use specialized equipment rather than just a roller and a brush to ensure a high-quality finish. However, the refinish is not as good as a new tub, don’t put your expectations on a refinisher too high.


