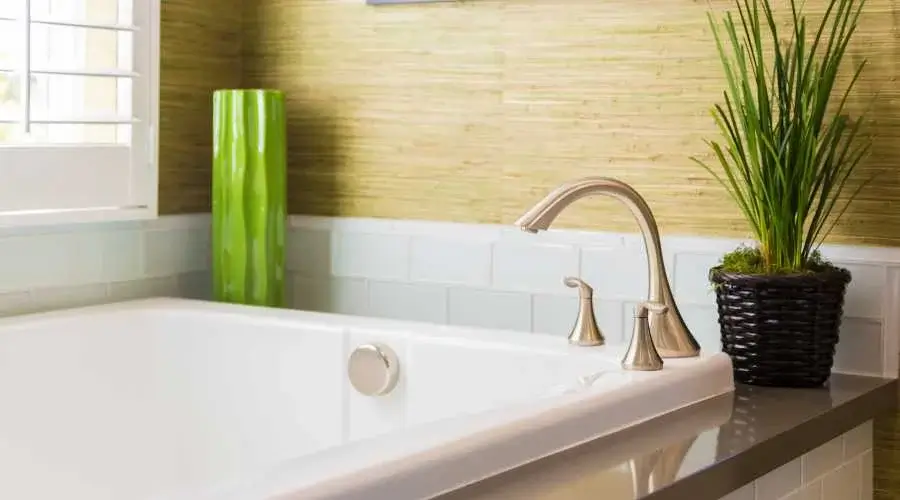
The majority of homeowners choose tub reglazing over buying a new bathtub. Why? Because expert bathtub refinishing may make a tub seem as good as new. This method also enables your customers to preserve their tubs, avoiding the need to replace existing flooring, tiling, fixtures, and other features. Instead, the surrounding surfaces are covered and left alone while the repair is completed.
When refinishing a bathtub, there are various factors to consider. In the sections below, we’ll go through seven easy measures to make your next tub reglazing endeavor a big success.
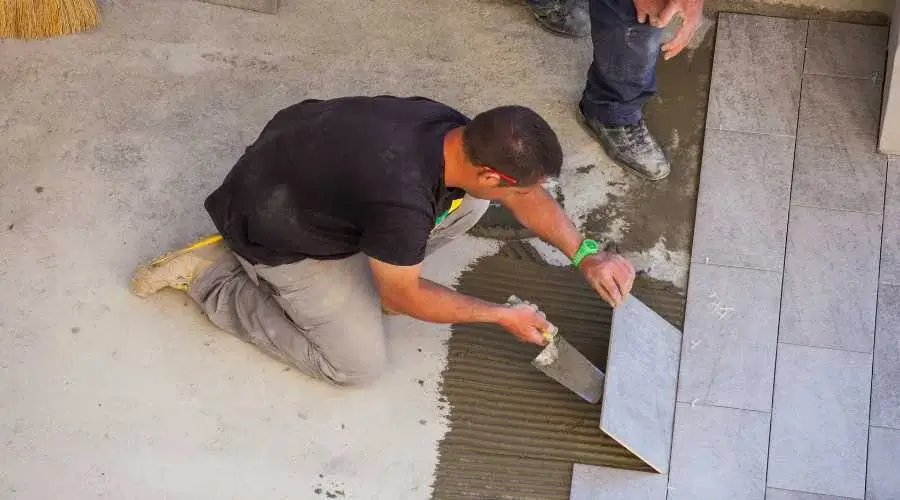
Step 1: Prepare Your Workspace
You must properly arrange your workplace before beginning your bathtub repair endeavor. It would help if you took all required safety measures and covered adjacent surfaces. Turn on the bathroom fan, open a window, and use an industrial fan to force the air outside to maintain the place well-ventilated.
Step 2: Remove Caulk
First, remove the overflow plate above the tub drain. Using a utility knife, cut the caulk where it meets the surround. When the caulk begins to lose, use a putty knife to pry it away gently. (Don’t worry if black marks appear during this technique; they may be removed afterward.)
Important: If the caulk you remove contains silicone, you must remove the residue using a silicone digester. If this is done, the tub reglazing job will be protected.
Step 3: Clean the Bathtub Thoroughly
Remove the overflow plate above the tub drain first. Cut the caulk where it meets the surround using a utility knife. When the caulk starts to come free, carefully peel it away with a putty knife. (Don’t be concerned if black markings emerge with this process; they may be erased afterward.)
Necessary: If the caulk you’re removing includes silicone, use a silicone digester to remove the residue. The tub reglazing work will be protected if this is done.
Step 4: Repair Any Damage
When refinishing a bathtub, the surface must be smooth. Any chips, cracks, or other damage must be repaired before installation. Line the bottom of the tub with masking paper and use a putty knife to smooth out any flaws. Allow the filler to set completely before sanding. This procedure must be repeated until the desired outcome is reached.
Step 5: Sand the Tub
After the tub has completely dried, the surface must be sanded. The cover may be filed by hand. Alternatively, use an electric orbital sander and 120-grit sandpaper.
Using your respirator is crucial during this time. Wipe the dust and dirt away using a wet cloth paper towel after sanding the whole tub. Wipe away from the drain and towards the tub’s backside. Finally, complete the process with lacquer thinner or a detailing compound.
Step 6: Apply Masking Tape
Mask off the tile around the tub and the adjacent floors after that. It would help if you also taped over the drain (remove any excess so it doesn’t get in the way of the glazing). Place a rubber glove or equivalent barrier over the faucet and showerhead to protect the tub reglazing operation from leaks.
Step 7: Apply Tub Reglazing Product
When steps one through six have been completed, it is time to apply the glaze. Because each bathtub refinishing product is different, please follow the instructions strictly. The masking may be removed once the tub has dried for a few hours. However, take your time with this stage. Otherwise, dust will attach to the surface of the tub. Re-caulk the bathtub after 24 hours. After 48 hours, you may complete the operation by replacing the overflow lid.
More Information about Professional Bathtub Refinishing
New Castle Tub Reglazing offers bathtub refinishing training classes as well as anything else you need to develop your tub reglazing abilities. To learn more, please contact us at any time.